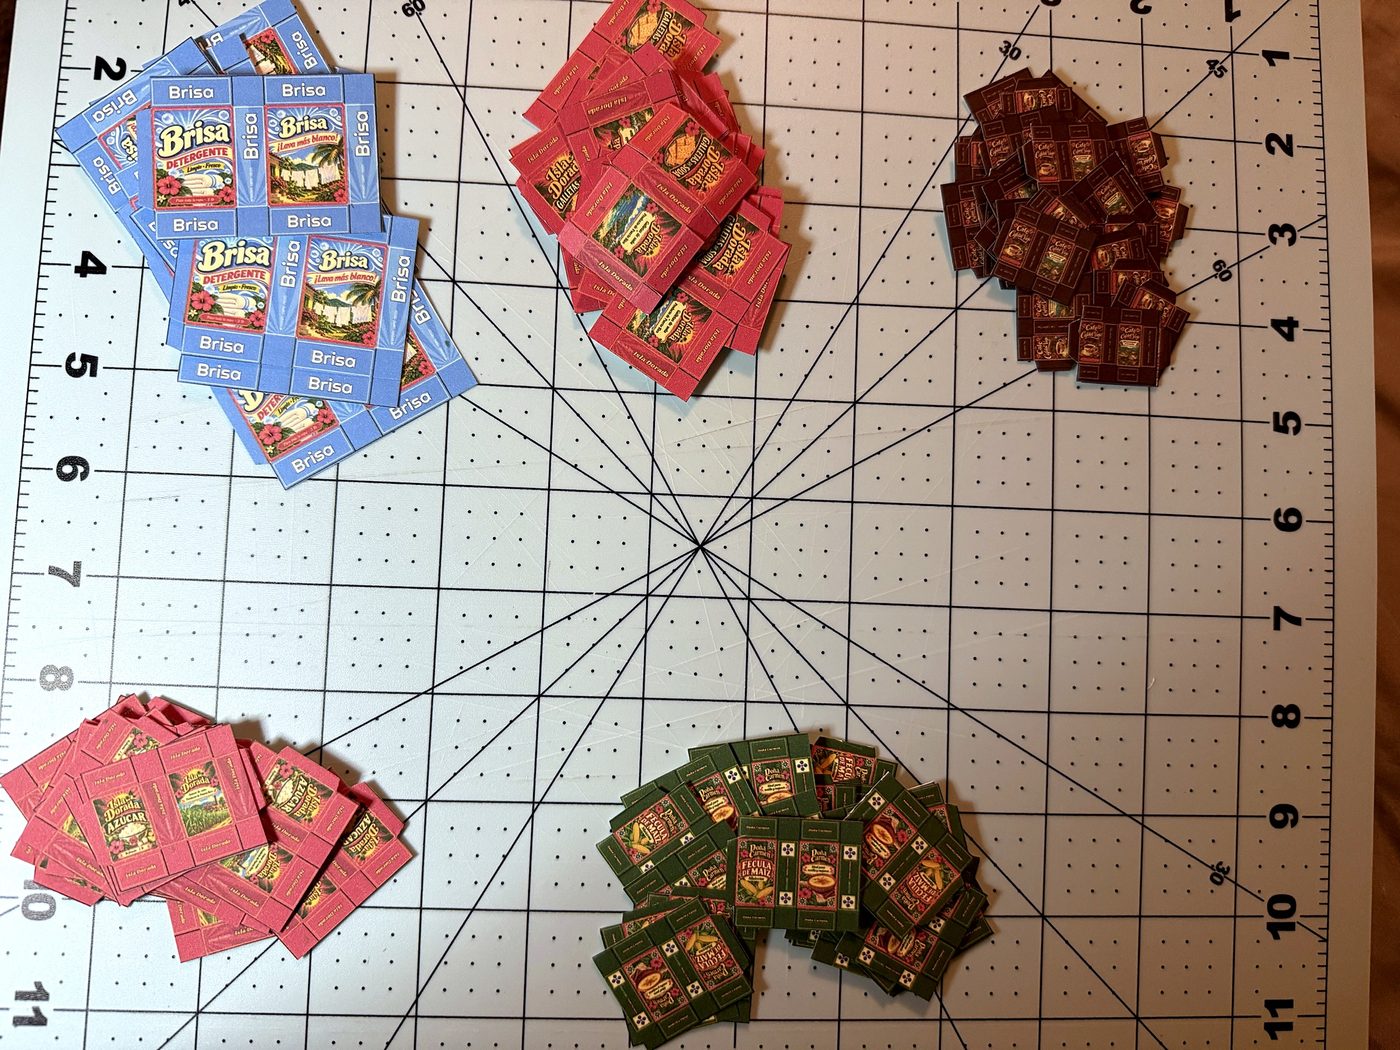
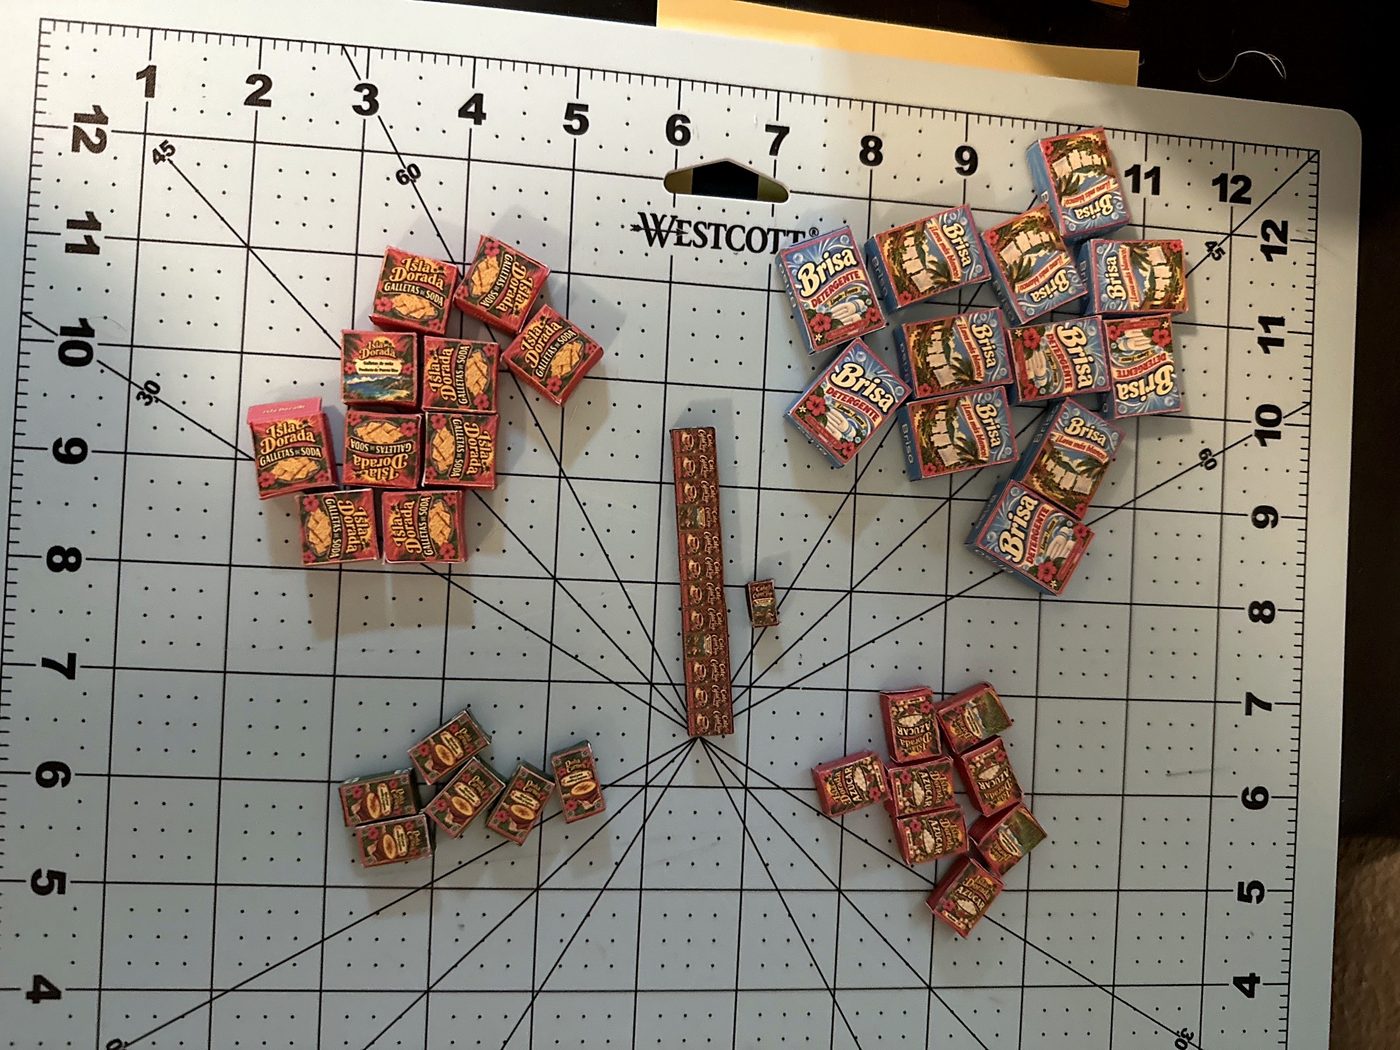
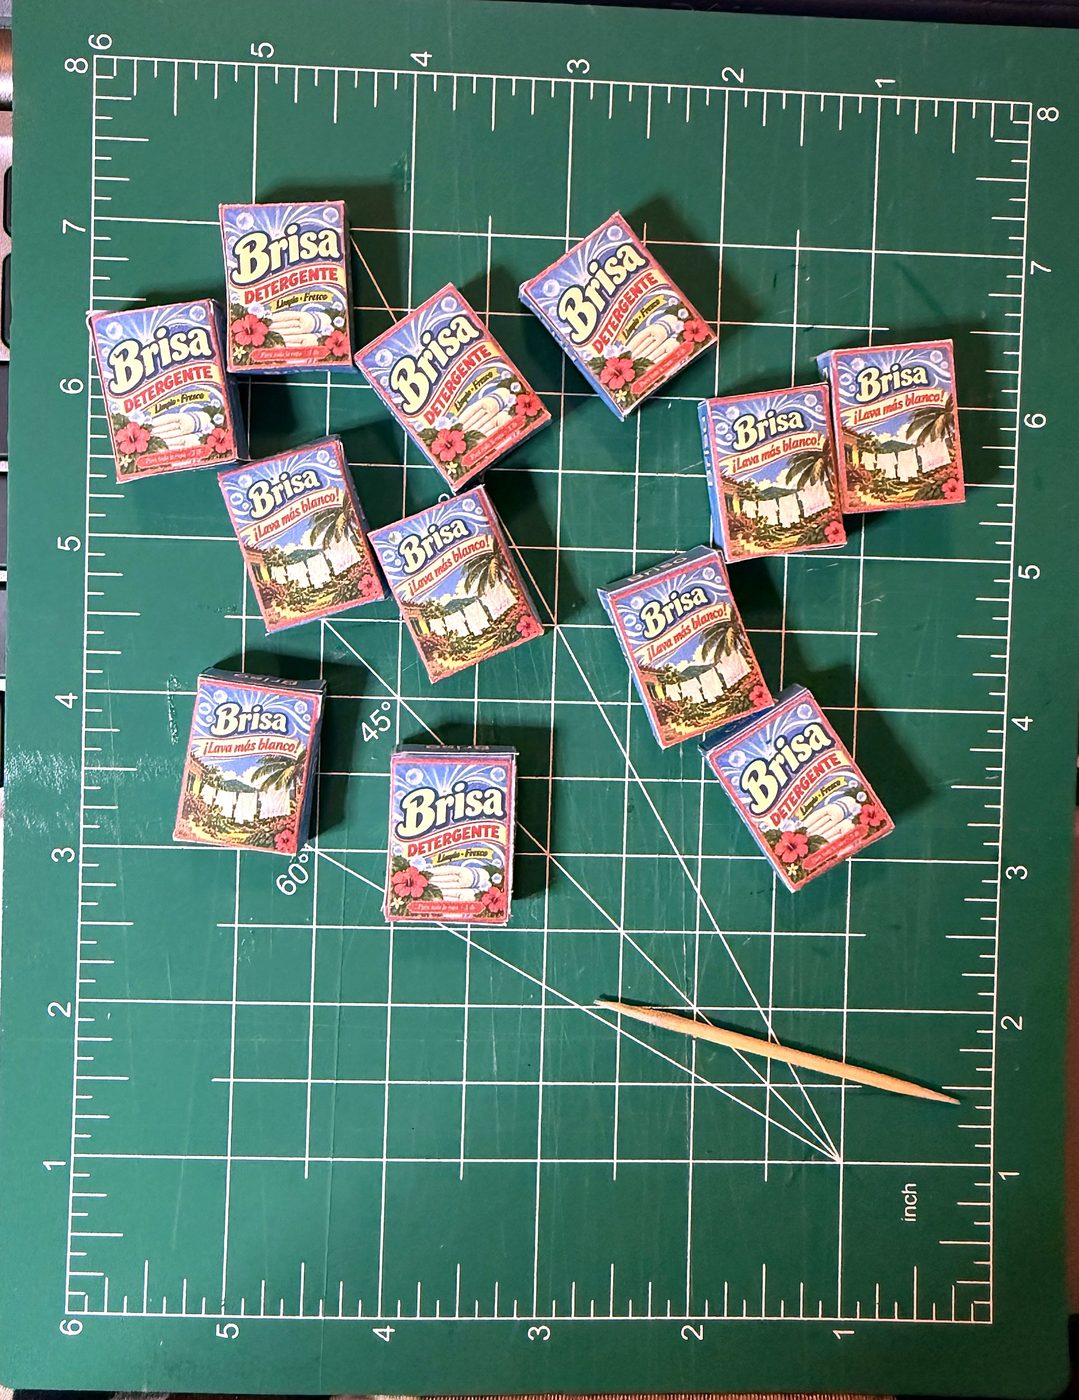
Every box, can, bottle and crate in my colmado is printed paper. Here is how each kind is made, with photos from the build. The same steps work for a kitchen pantry, a bodega or a bakery.
You'll need
Cardstock (65–80 lb), regular printer paper and photo paper
A craft knife, a metal ruler and a self-healing cutting mat
An empty ballpoint pen or a bone folder for scoring
Tacky glue, a glue stick, toothpicks and tweezers
A ¼ in wooden dowel (for cans) and a sheet of foam board
Print at 100% on cardstock (65–80 lb). Check the test square first.
Cut on the outline with a craft knife and a metal ruler.
Score every fold line with an empty ballpoint pen, then fold.
Glue the side tab first to make a tube, then close the bottom and the top. A toothpick spreads tacky glue thin.
Run a matching marker along the white cut edges.
Tip: Making a whole shelf? Cut all the pieces first, then score them all, then fold them all. Doing one step at a time is faster and the boxes come out matching.
Cut and ready to foldFolded and gluedFinished
2 Cans
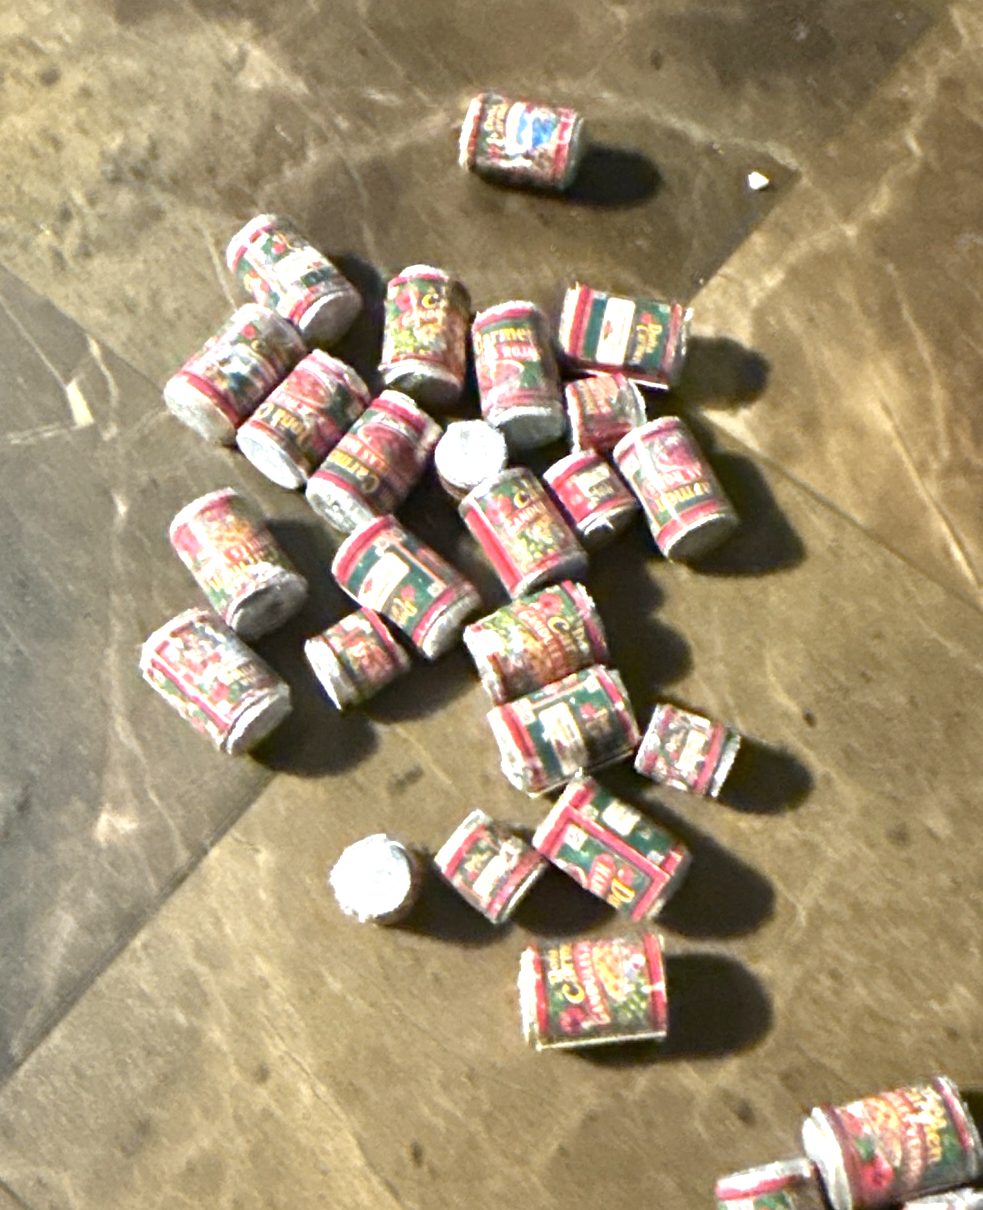
Print the can labels on regular printer paper, which rolls without cracking.
Wrap each label around a ¼ in wooden dowel, leaving a small gap between labels, and glue the seam.
Once dry, cut the dowel in the gaps between labels.
Color the cut ends with a silver marker so they read as metal lids.
Tip: Why ¼ in? A real can is about 3 in across. At 1:12 that's ¼ in. A label for a ¼ in dowel is about 0.79 in long (¼ × 3.14), plus about ¹⁄₁₆ in to overlap at the seam.
A batch of cans
3 Bottles and jars: the shelf-strip shortcut
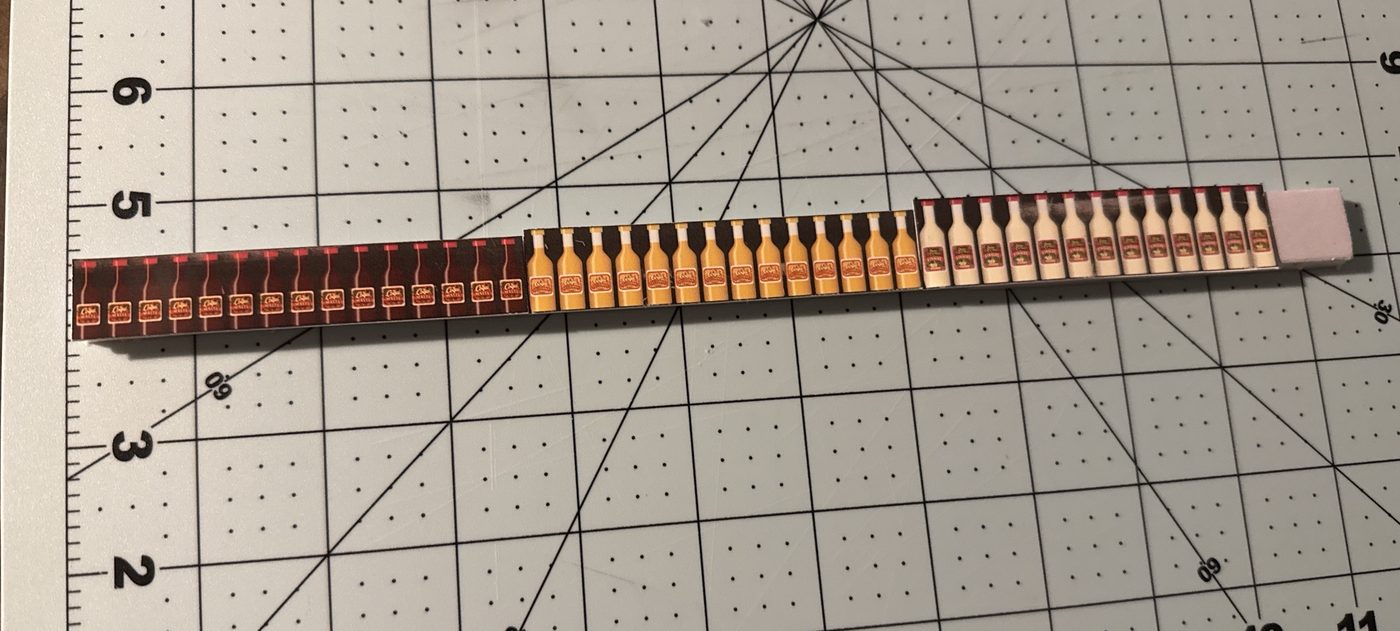
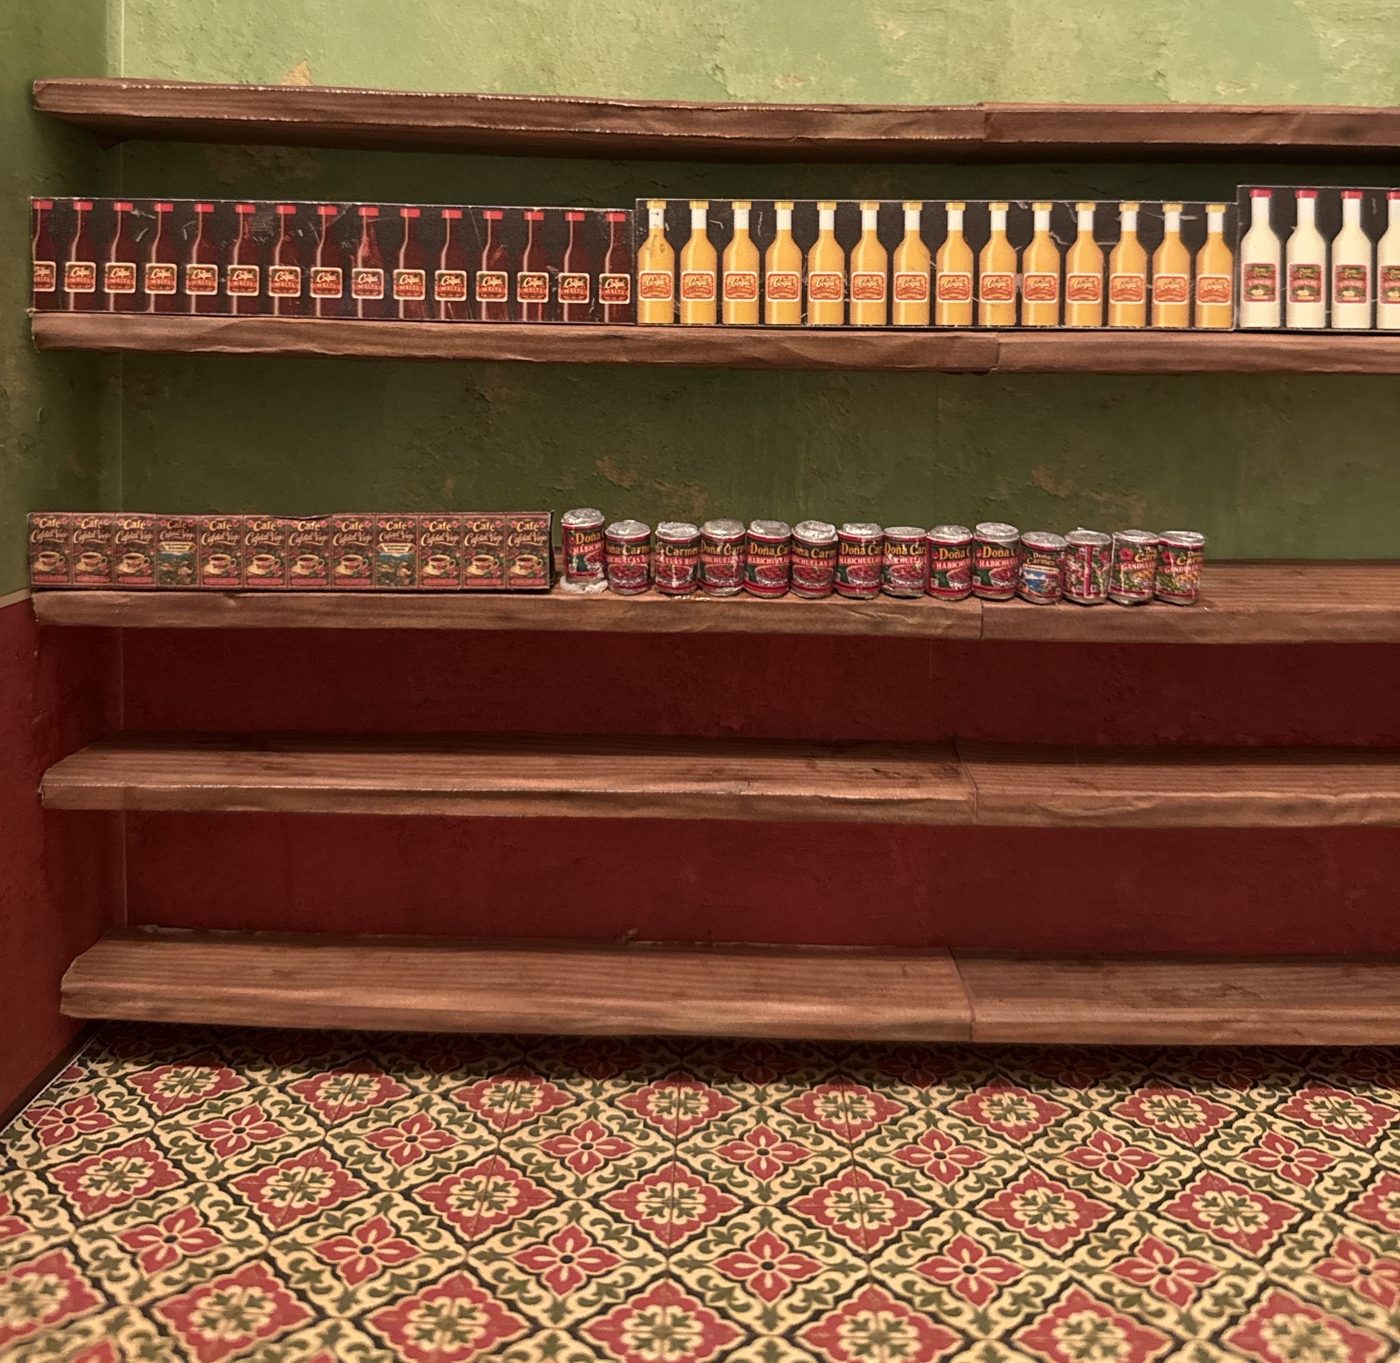
Print a whole row of bottles as one strip, on photo paper for a little shine.
Glue the strip to light cardstock so it stays stiff, then cut along the straight edges.
Glue a small strip of foam board behind the bottom edge so it stands up on the shelf.
Tip: From the front a strip reads as a full row of bottles, and it saves folding dozens of tiny pieces. Save your patience for the pieces people see up close.
One strip, a whole rowOn the shelf
4 Produce crates
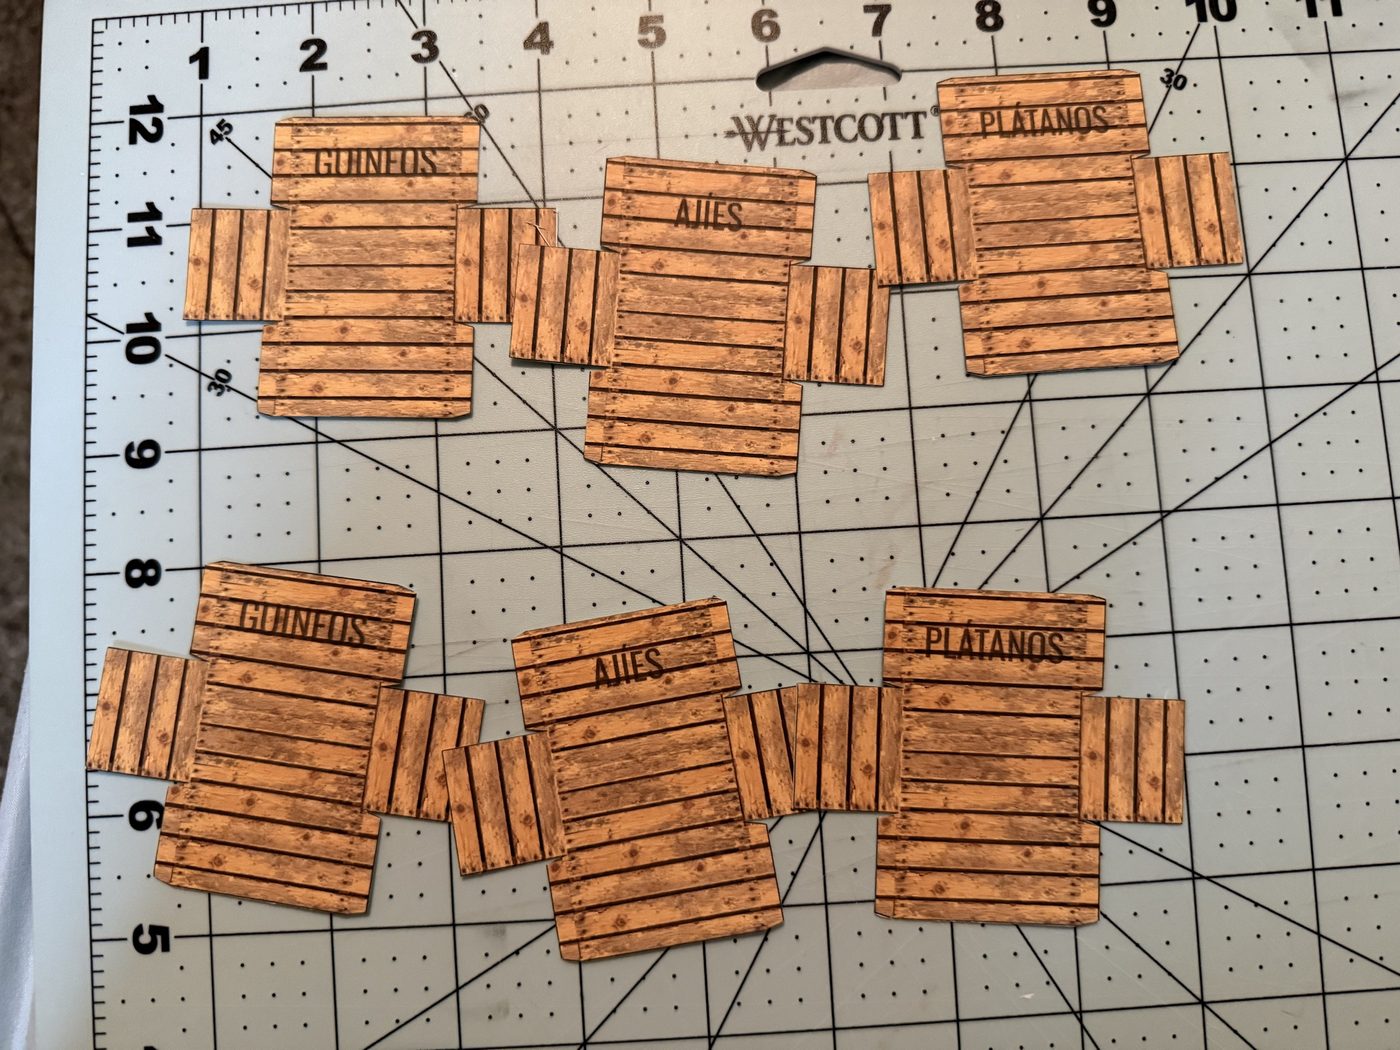
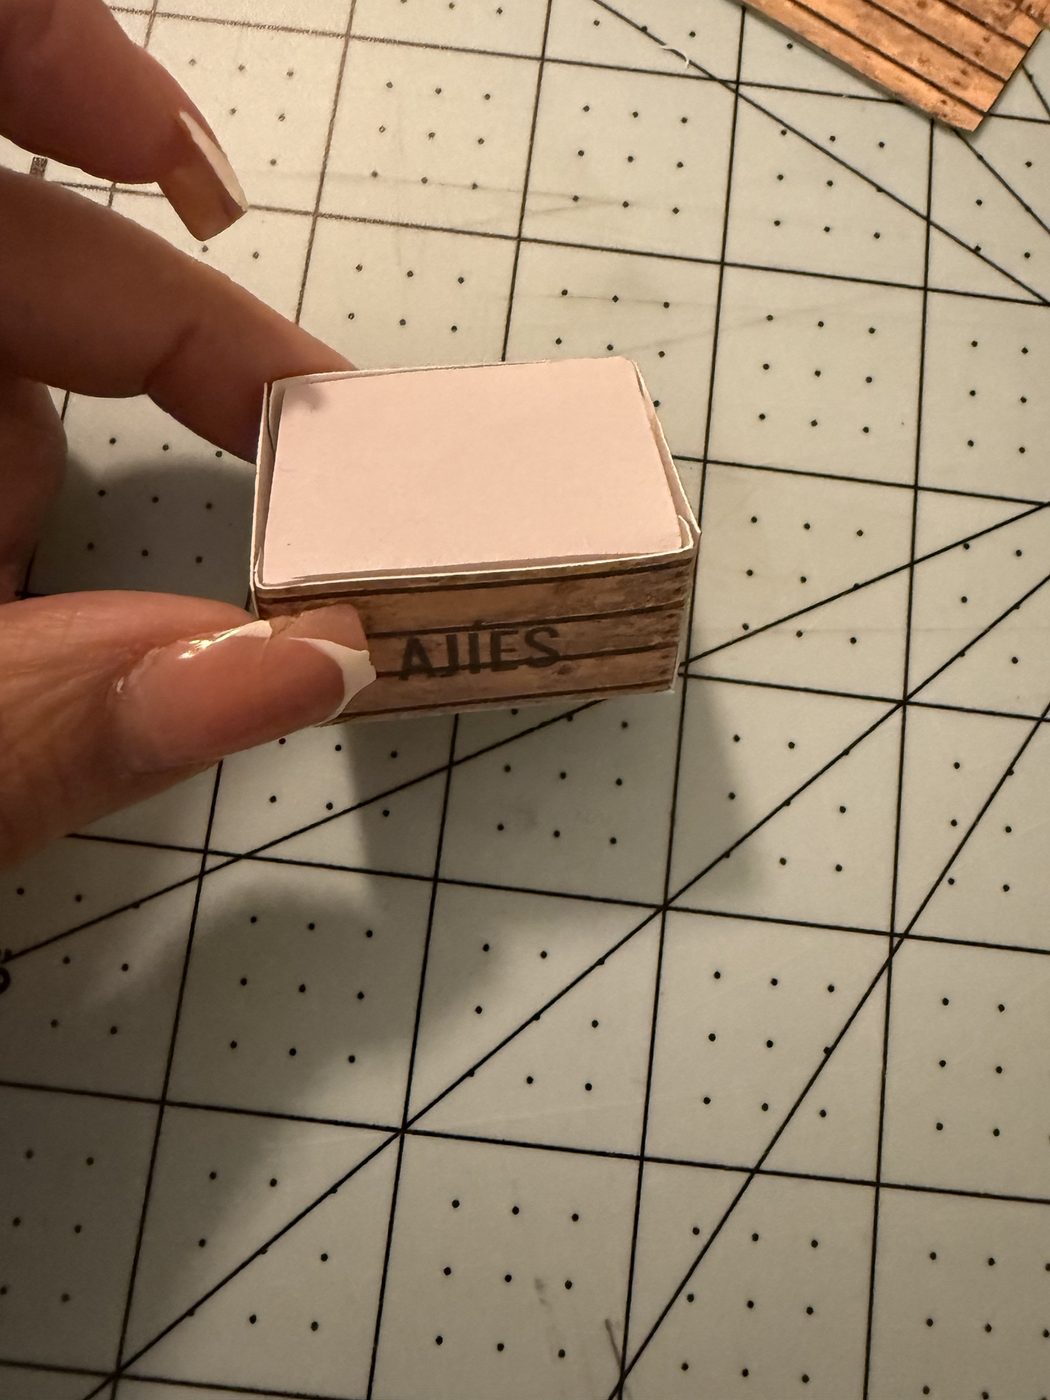
Print the crate on cardstock and cut it out in one piece.
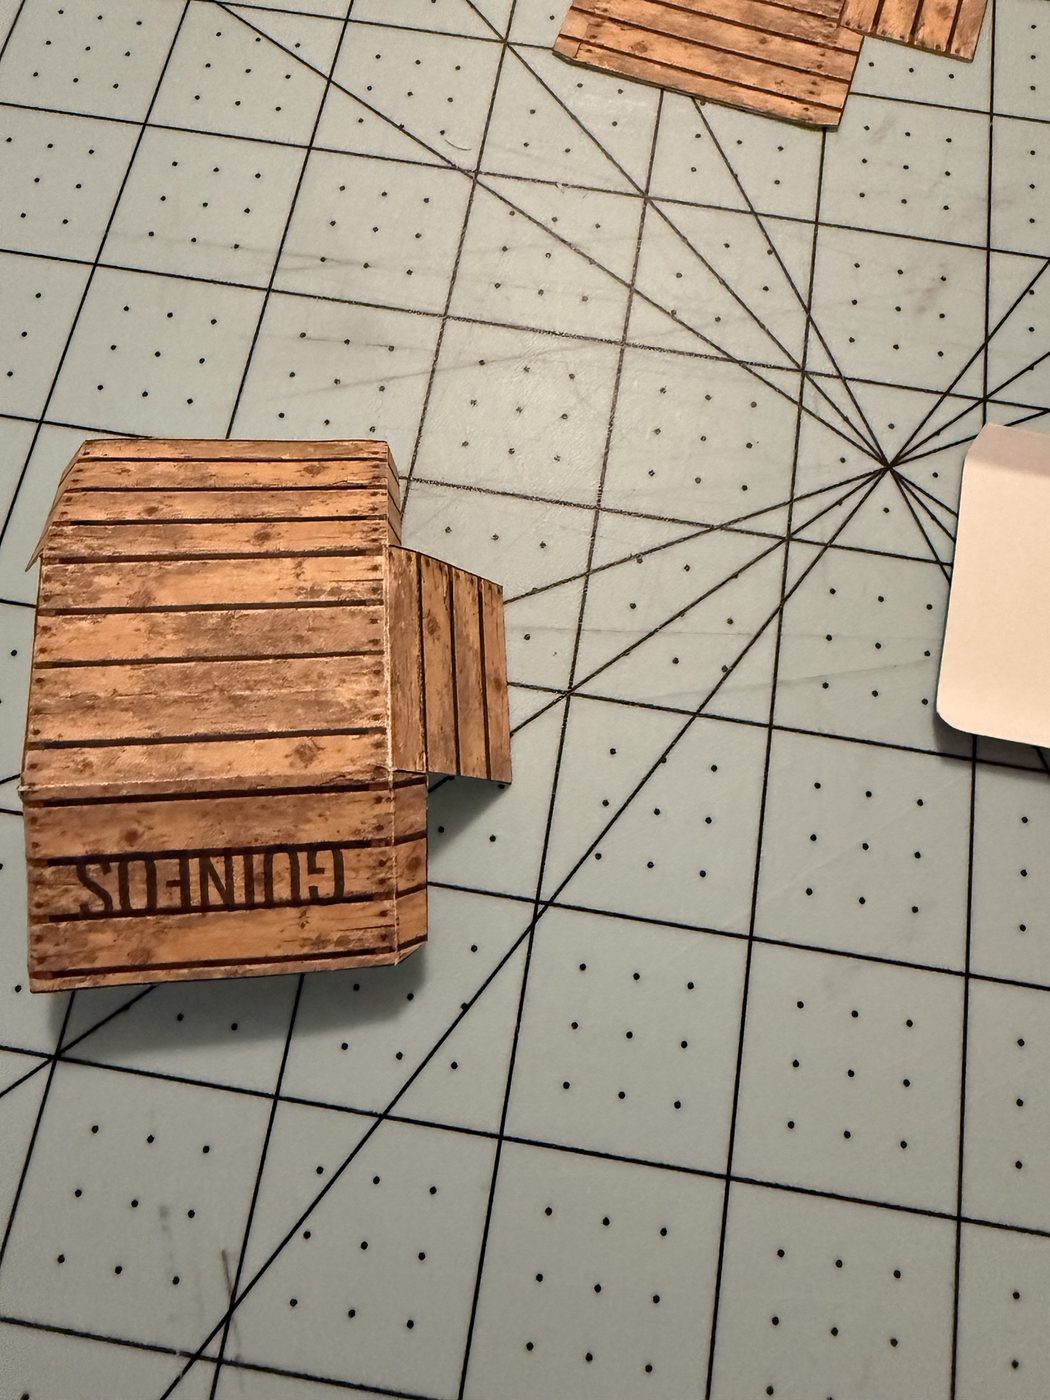
Score and fold up the four sides, then glue the corner tabs.
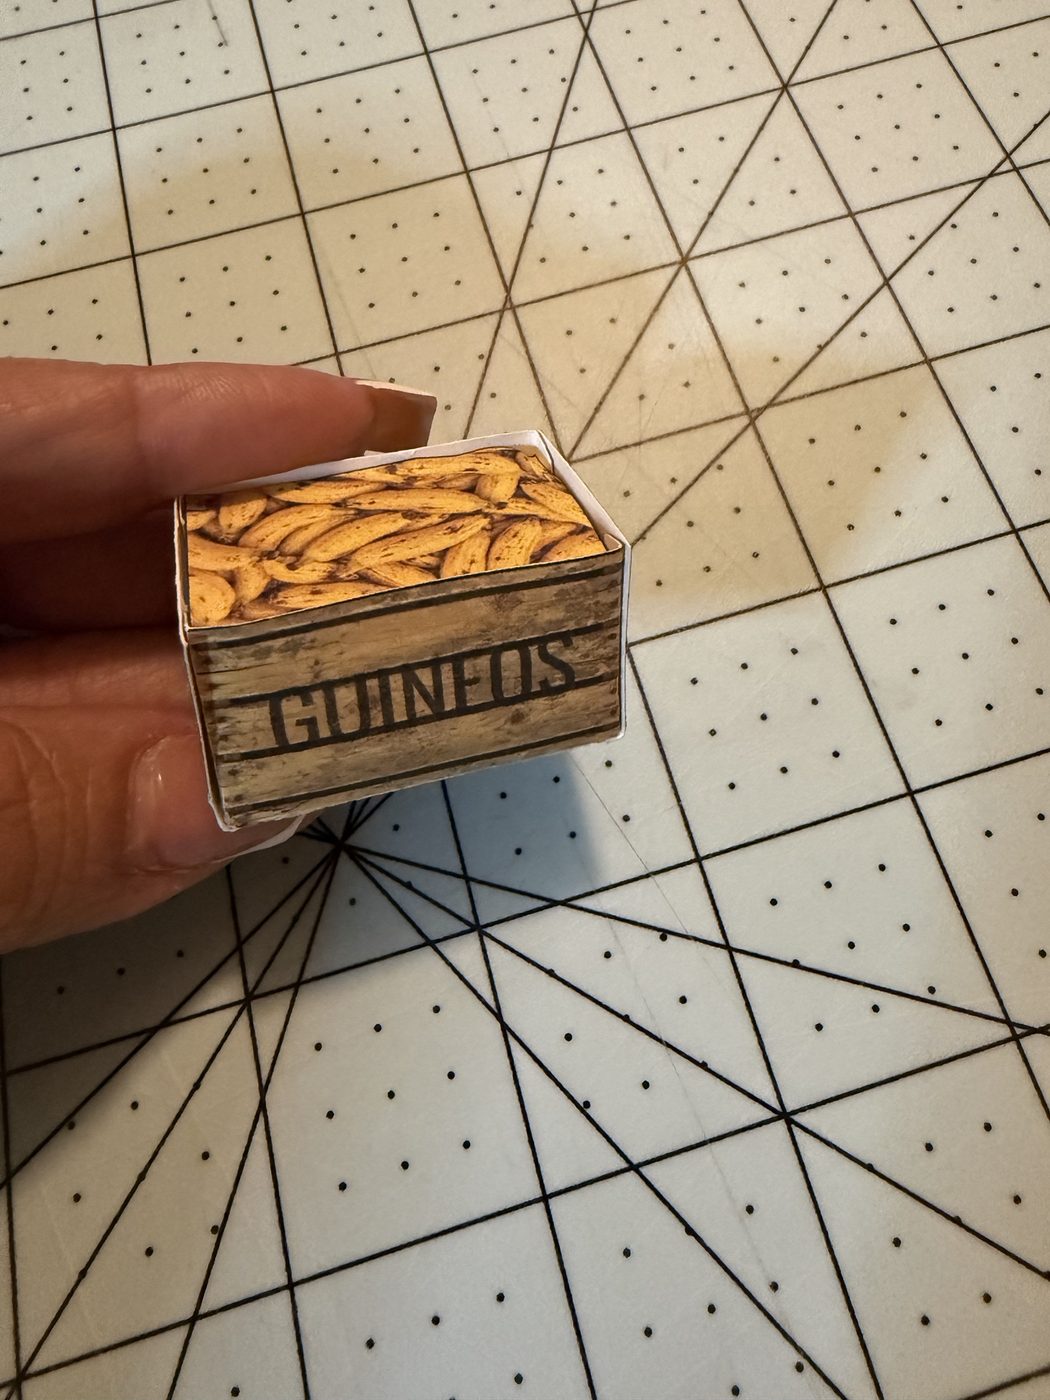
Glue a white insert inside, a little below the rim, so the fruit sits on top.
Glue the printed fruit on the insert.
Cut outFoldedInsert inGuineos, done
5 A paper grocery bag
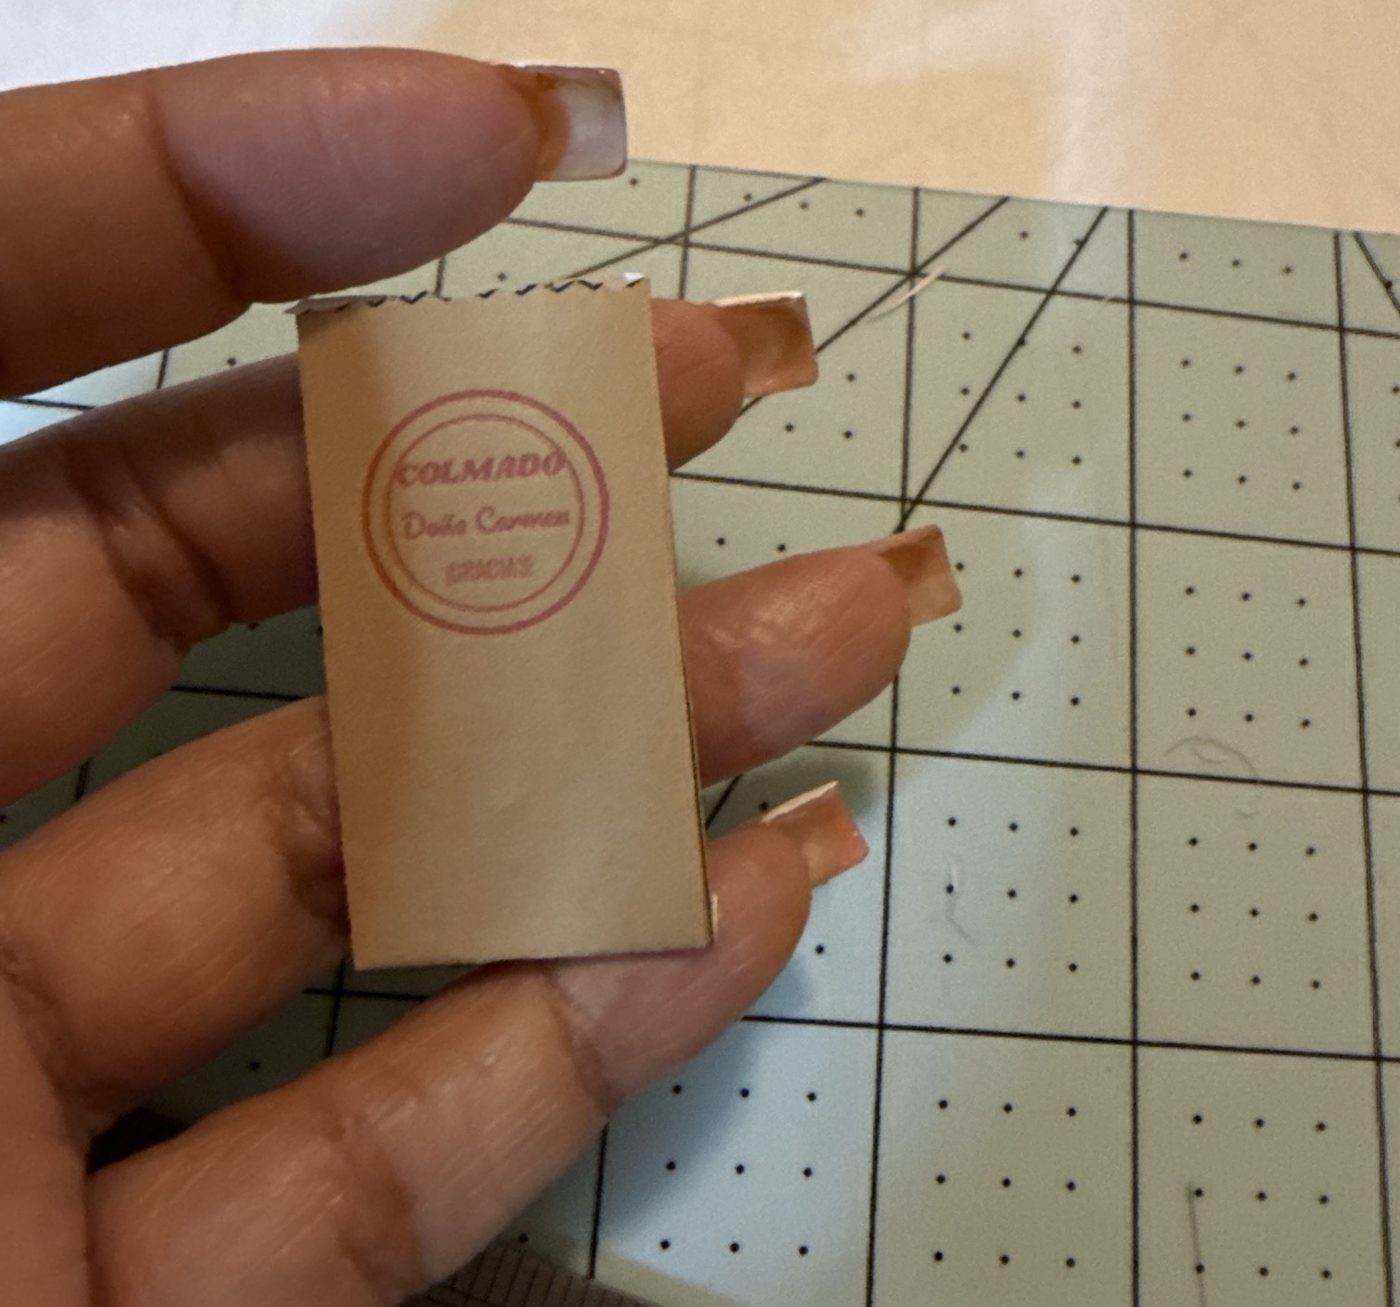
Cut the bag on its outline, including the zigzag top.
Crease every fold, then glue the narrow flap to make a tube.
Fold the sides in to make the gussets, so the bag folds flat.
Fold up the bottom, then open the bag and press the bottom square.
Fingertip size
6 A wooden counter
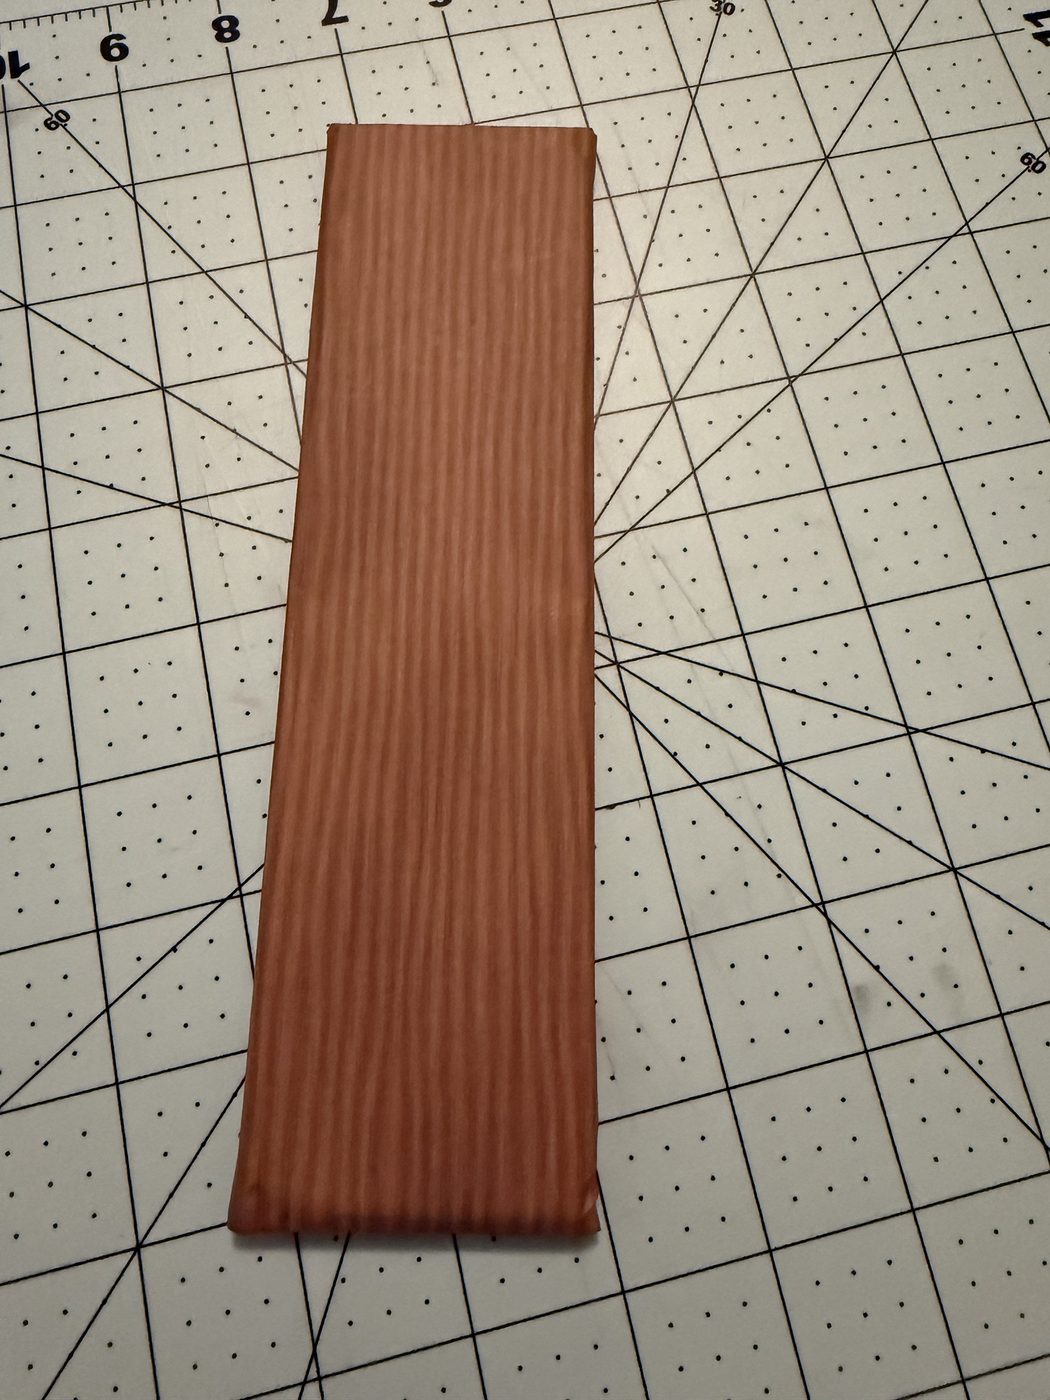
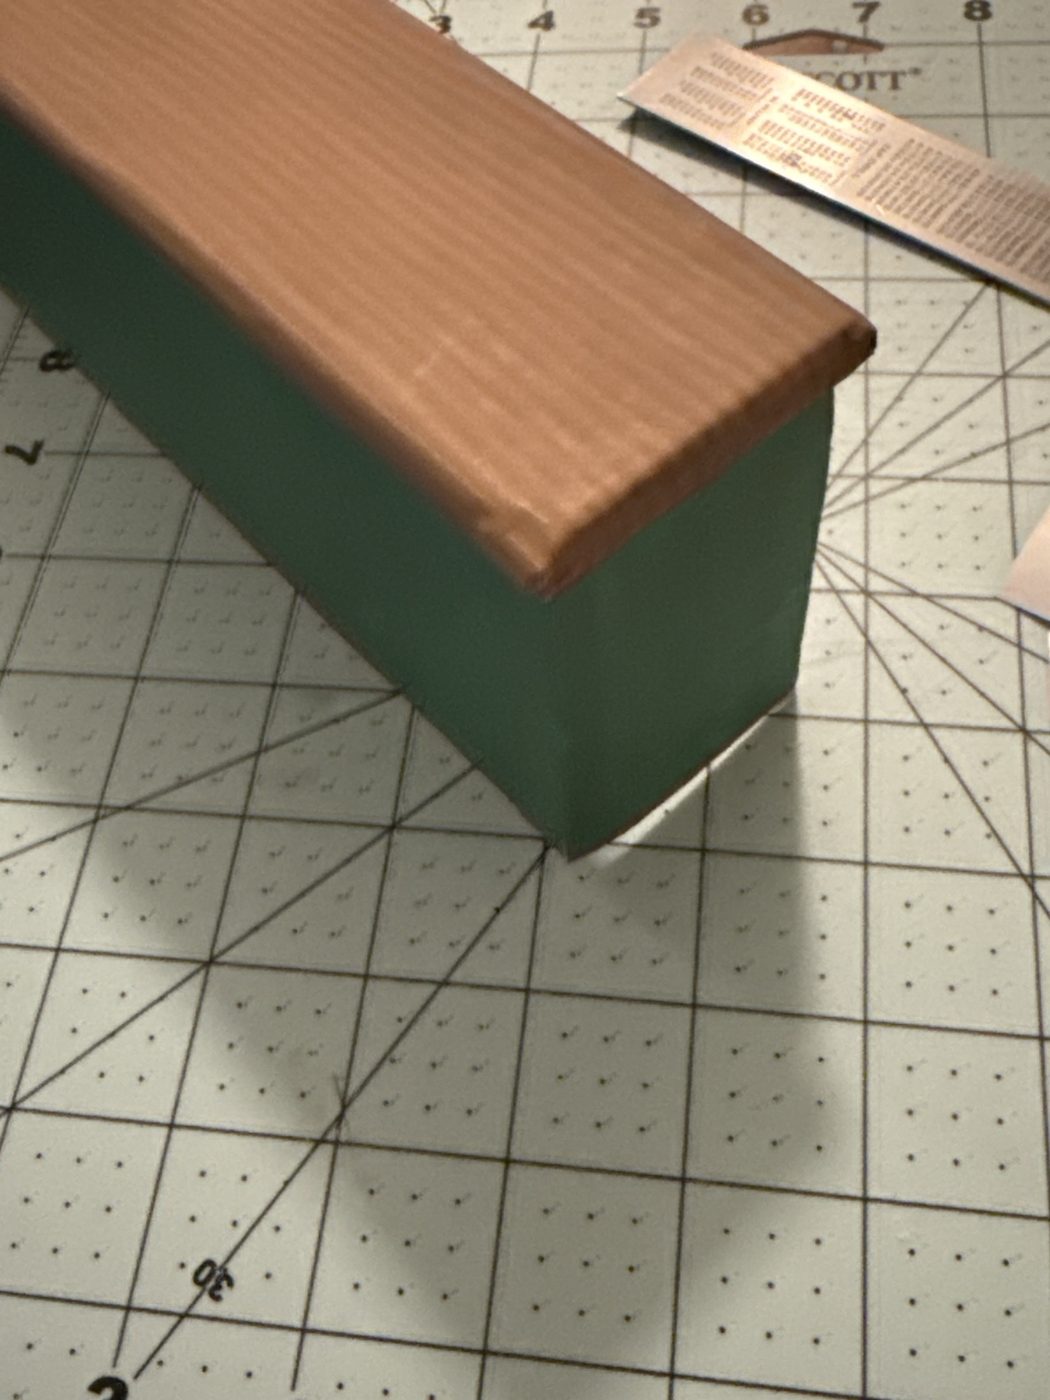
Cut a block of foam board the size of the countertop.
Wrap it in printed wood-grain paper like a gift, gluing the paper on the underside.
Glue it on top of the counter front and cover the exposed end so no foam shows.